Setup your webhook server before reading this guide.
Configuring Webhooks
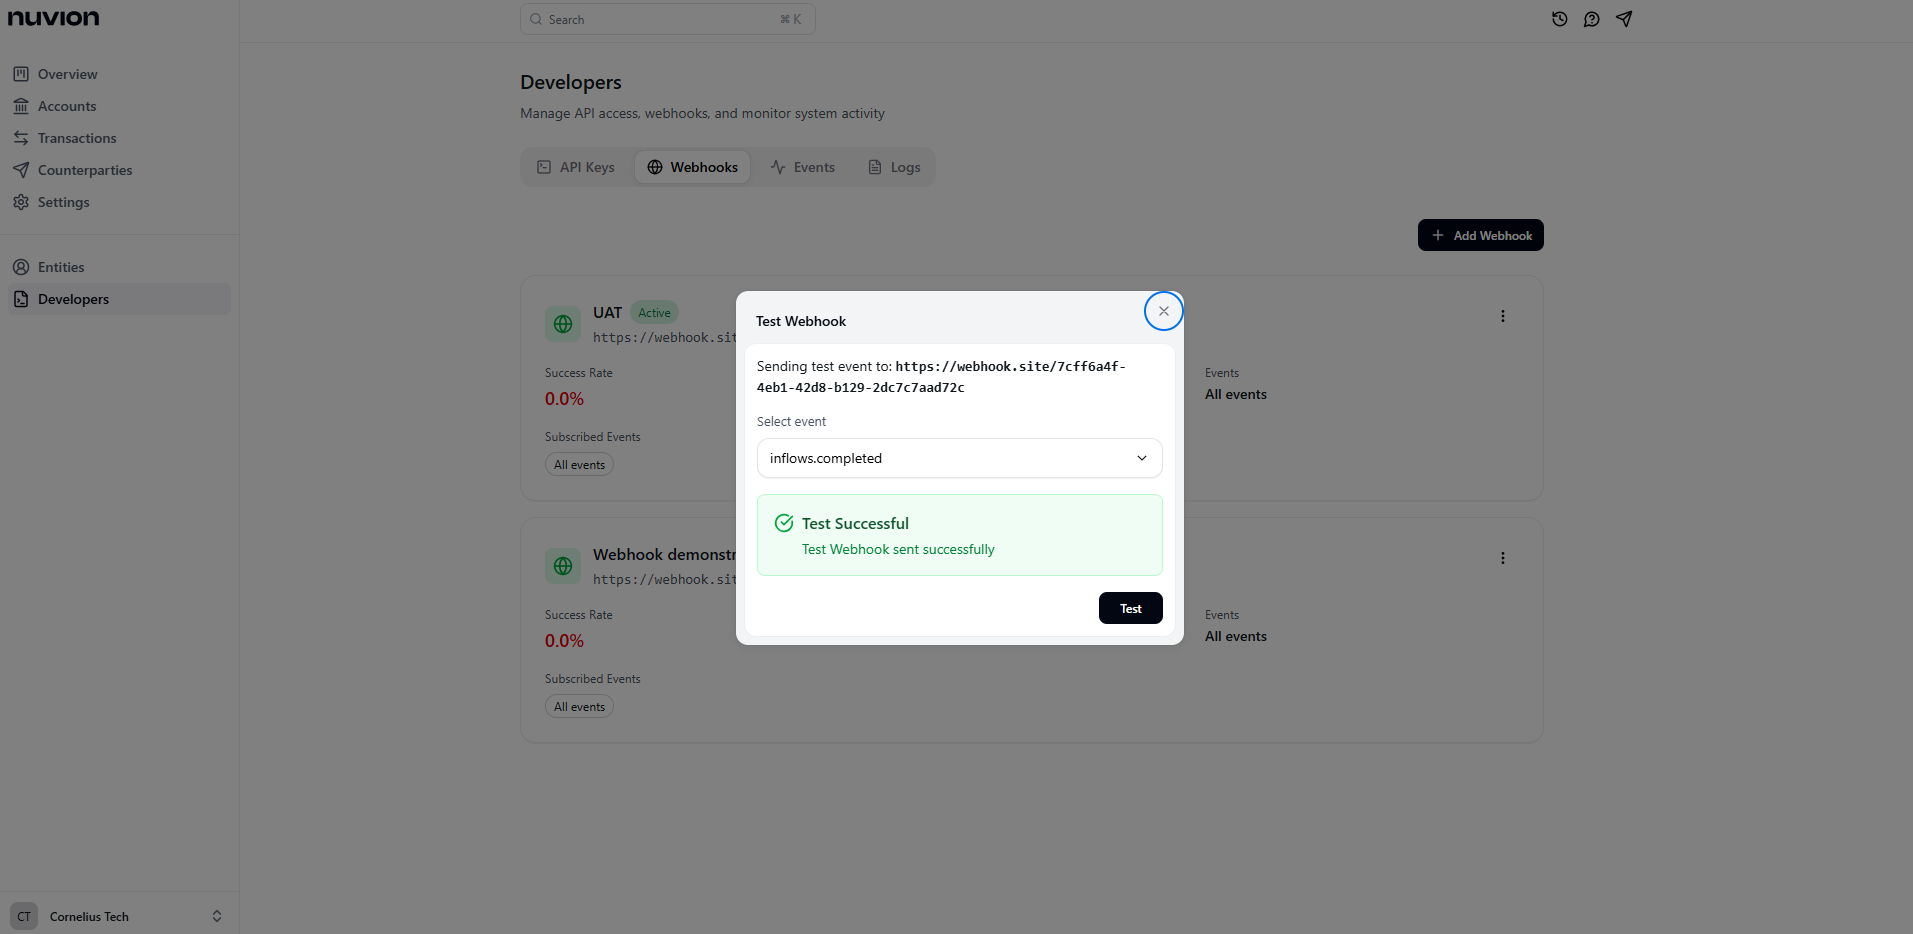
Log into your account and navigate to the Developers option. Select the 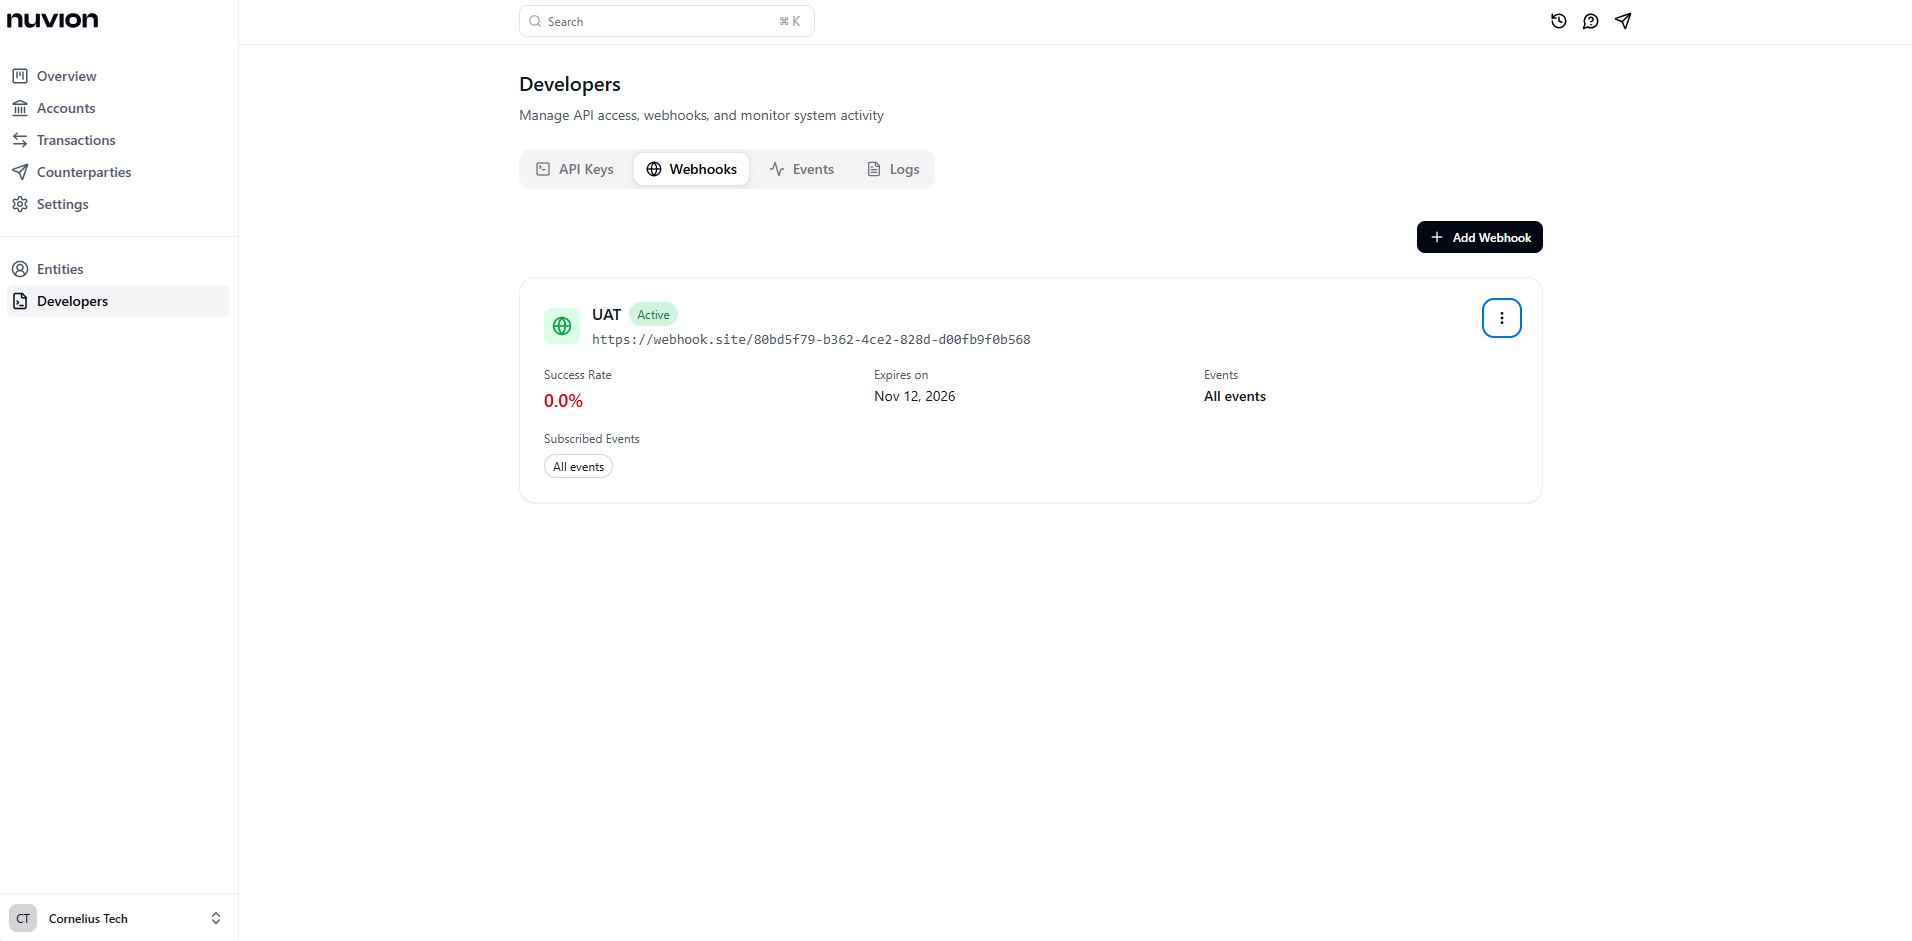
Webhooks tab to access your webhook settings.Click the 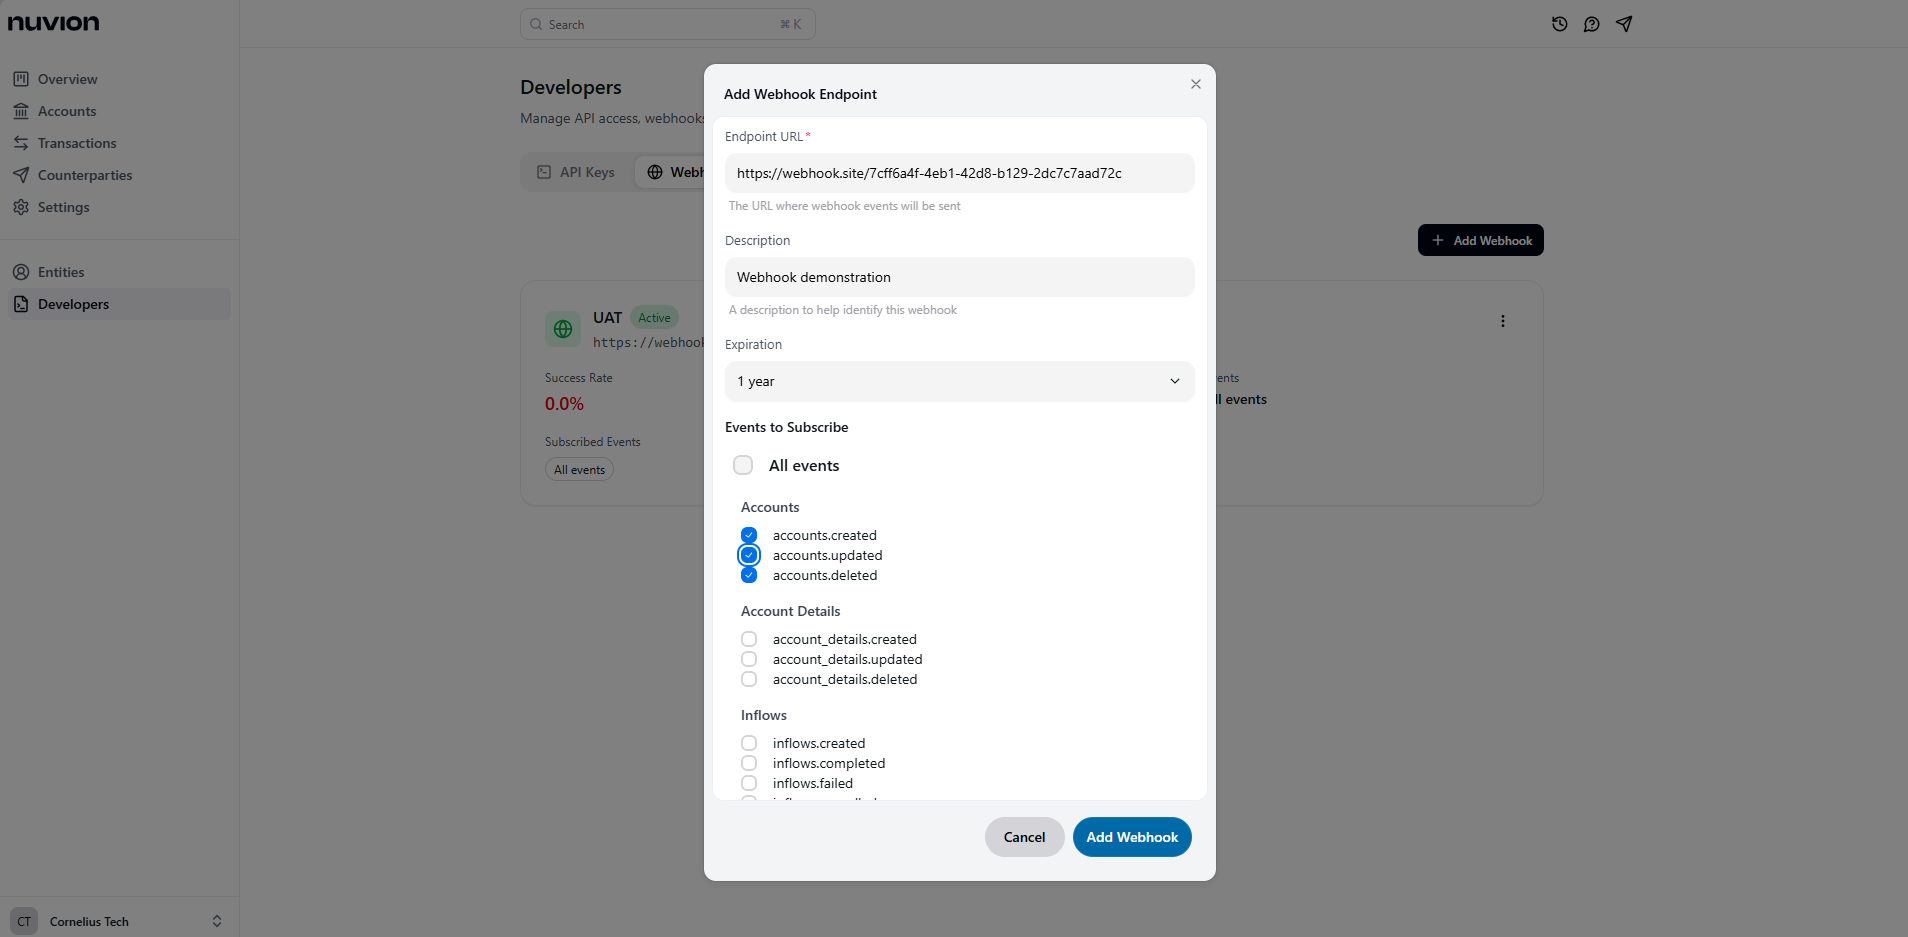
+ Add Webhook button to configure your webhook. Specify your webhook_url, description, expiration and events you want to subscribe to.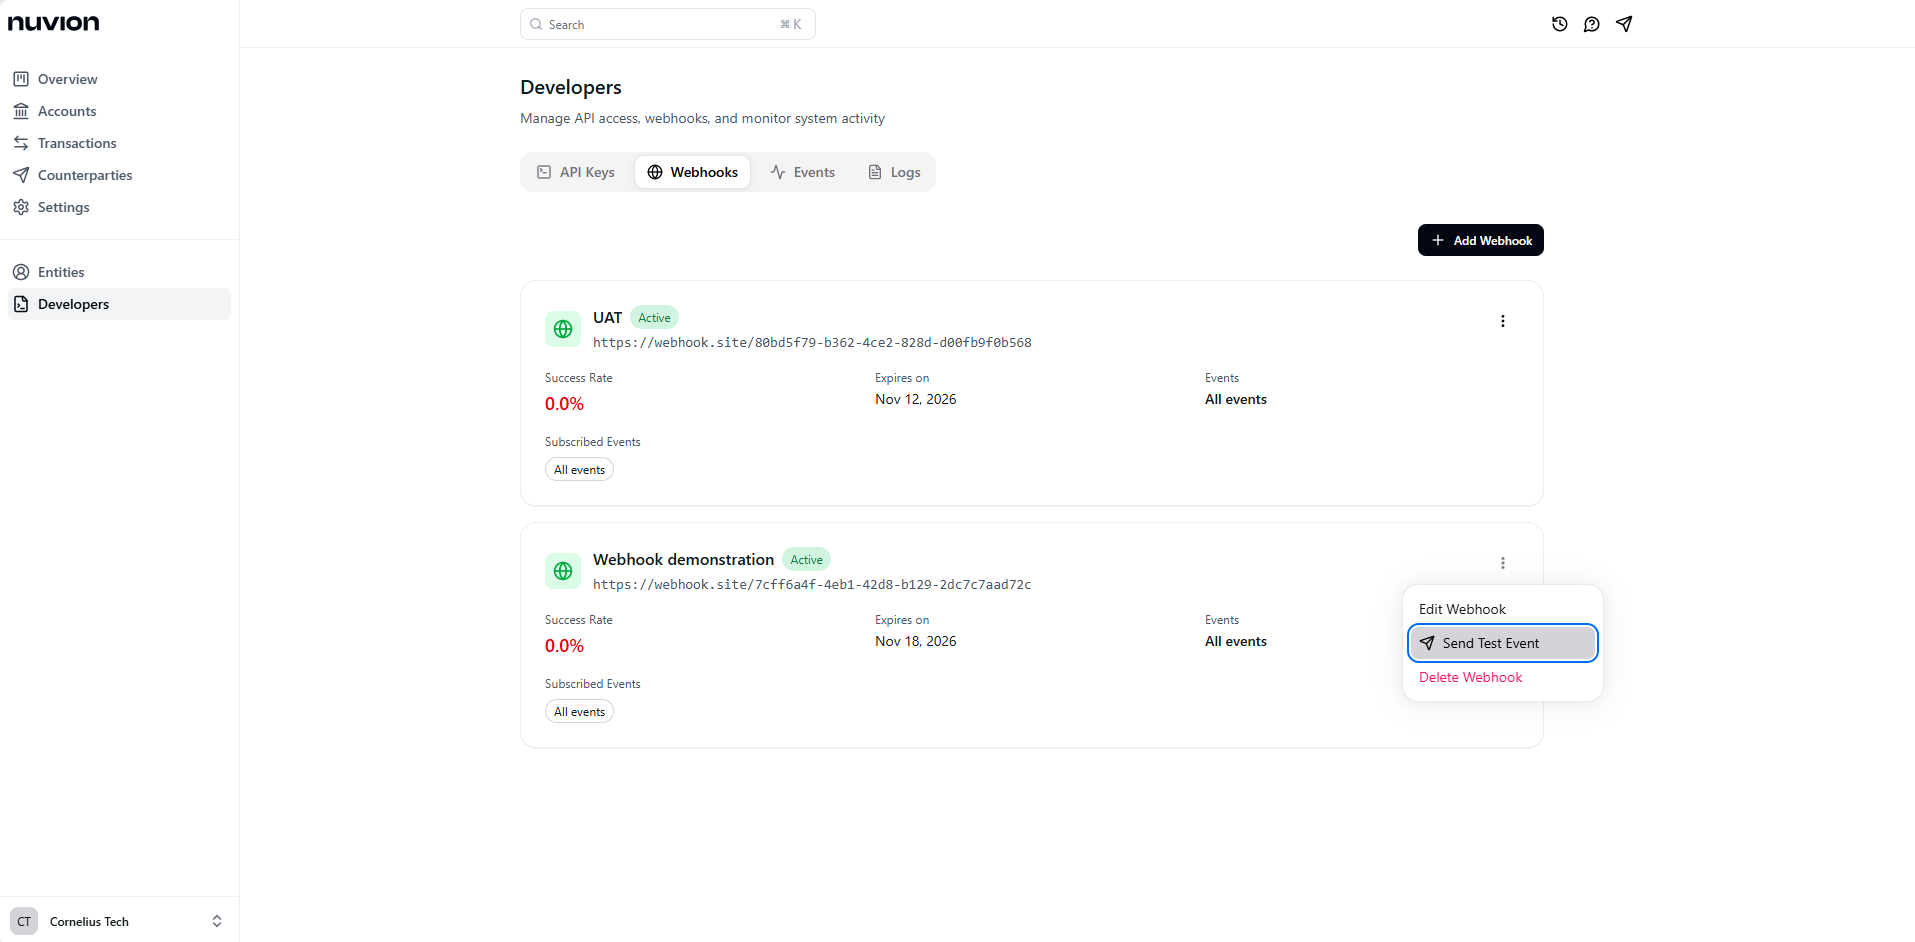
Congratulations! You have successfully configured your webhook server.
Event Object
All webhooks contain a single event object. These objects have the same top-level structure with differences in the event data.Webhook structure
Failure and Retries
If your application returns anything other than a 2xx HTTP status code, we’ll retry with exponentially increasing backoffs for up to 15 mins after which we’ll stop sending the webhooks. While retrying webhooks, An event may occasionally be sent multiple times to your server with the same data and unique IDs. We advise you to guard against duplicated events by making your event processing idempotent.Types of Events
These are the events that we currently send webhooks for.| Events | Description |
|---|---|
accounts.created | A new account was created. |
account_details.created | New account details or wallet information have been generated. |
account_details.updated | An account detail or wallet information has been updated. |
inflows.completed | A new payment was received into your account. |
outflows.created | Nuvion has received your transfer request and will queue it for processing. |
outflows.completed | A transfer attempt was completed successfully. |
outflows.failed | A transfer attempt failed. |
outflows.cancelled | A transfer attempt was cancelled. |